How to Use ChatGPT Images 2.5 for Consistent AI Image Editing
Editorial
9/11/2026
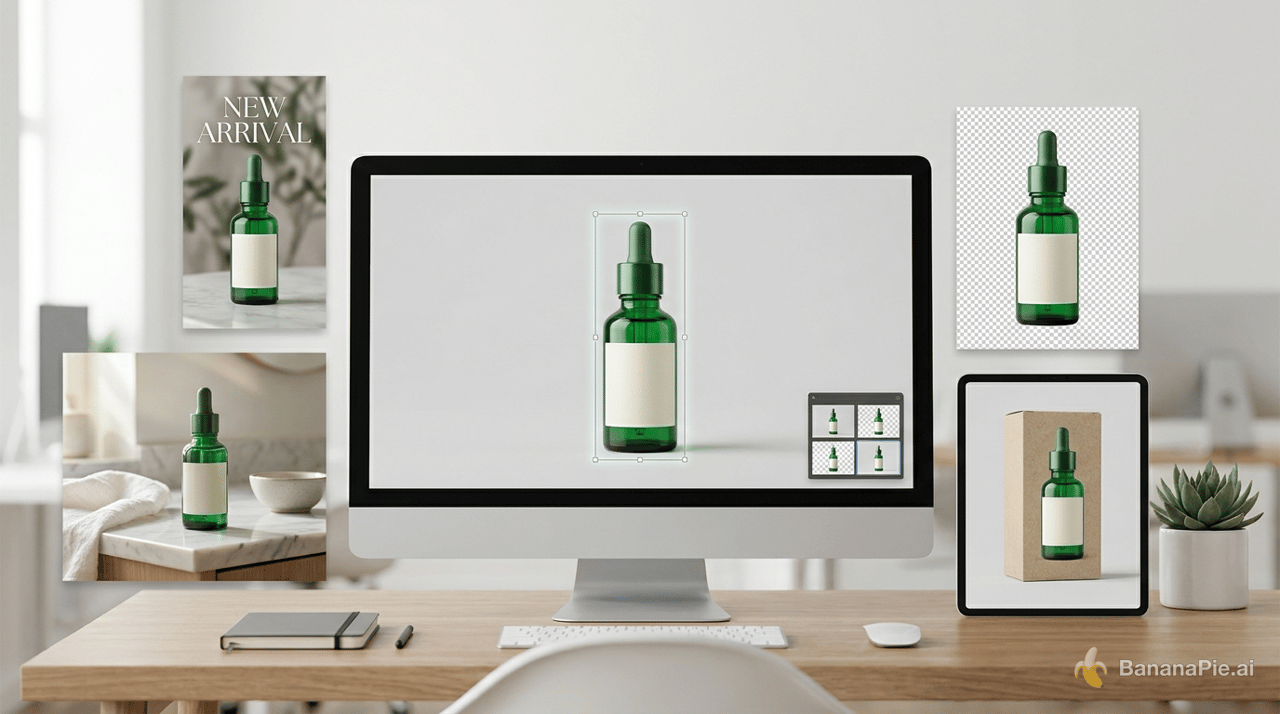
ChatGPT Images 2.5 can be most useful when you treat image generation as a controlled production workflow rather than a one-shot prompt. Start with a reference or sketch, approve a strong base image, lock the details that matter, and make each subsequent change deliberately. This approach helps designers, marketers, and e-commerce teams produce consistent visuals without rebuilding the composition from scratch.
This guide explains how to use ChatGPT Images 2.5 for reference-based generation, localized editing, multi-step revisions, transparent assets, and product mockups. Product naming, interface labels, editing controls, plan access, and export options may change, so their current availability needs verification before publication or use in a client workflow.
Why controlled AI image editing matters
Generating an attractive image is only the beginning of a commercial design task. A usable asset must also preserve the right product geometry, character identity, brand colors, text, composition, and output format across revisions.
That consistency matters in several common workflows:
- E-commerce sellers need the same product to appear accurately across hero images, lifestyle scenes, and advertisements.
- Social media managers need coordinated visuals in several aspect ratios.
- Designers need to change one object or line of text without losing an approved layout.
- Freelancers need reproducible prompts and references that collaborators can understand.
- Small brands need isolated artwork that can move between packaging, apparel, websites, and print materials.
Before starting, collect strong source images and decide which details are negotiable. You can browse AI image examples to clarify the style, composition, and lighting you want, or explore the full set of AI image tools when your workflow also requires enhancement or background cleanup.
How do you start a controlled image workflow?
The exact controls may differ by account and interface, but a reliable ChatGPT Images 2.5 editing tutorial follows the same general sequence.
- Define the deliverable. Specify whether you need a product image, poster, thumbnail, sticker, portrait, or reusable design asset.
- Choose the strongest starting material. Upload a reference image when identity or product accuracy matters. Use a sketch when spatial arrangement is the main challenge.
- Generate one base image. Do not request every campaign format immediately. Concentrate on getting the subject, composition, lighting, and visual direction right.
- Approve and lock the base. List the details that subsequent edits must preserve, such as the face, logo, packaging, camera position, or typography.
- Make one meaningful edit per turn. Review each result before proceeding.
- Export and inspect the asset. Check edges, hands, faces, product proportions, text, and transparency at full size.
A useful opening instruction is:
We will edit this image through a series of controlled revisions.
Apply every new request to the latest approved version.
Preserve all previously approved changes.
Do not alter anything unless I explicitly request it.
Wait for my first edit.
This establishes the working rules before the model begins making changes.
How can you preserve a person or product across new scenes?
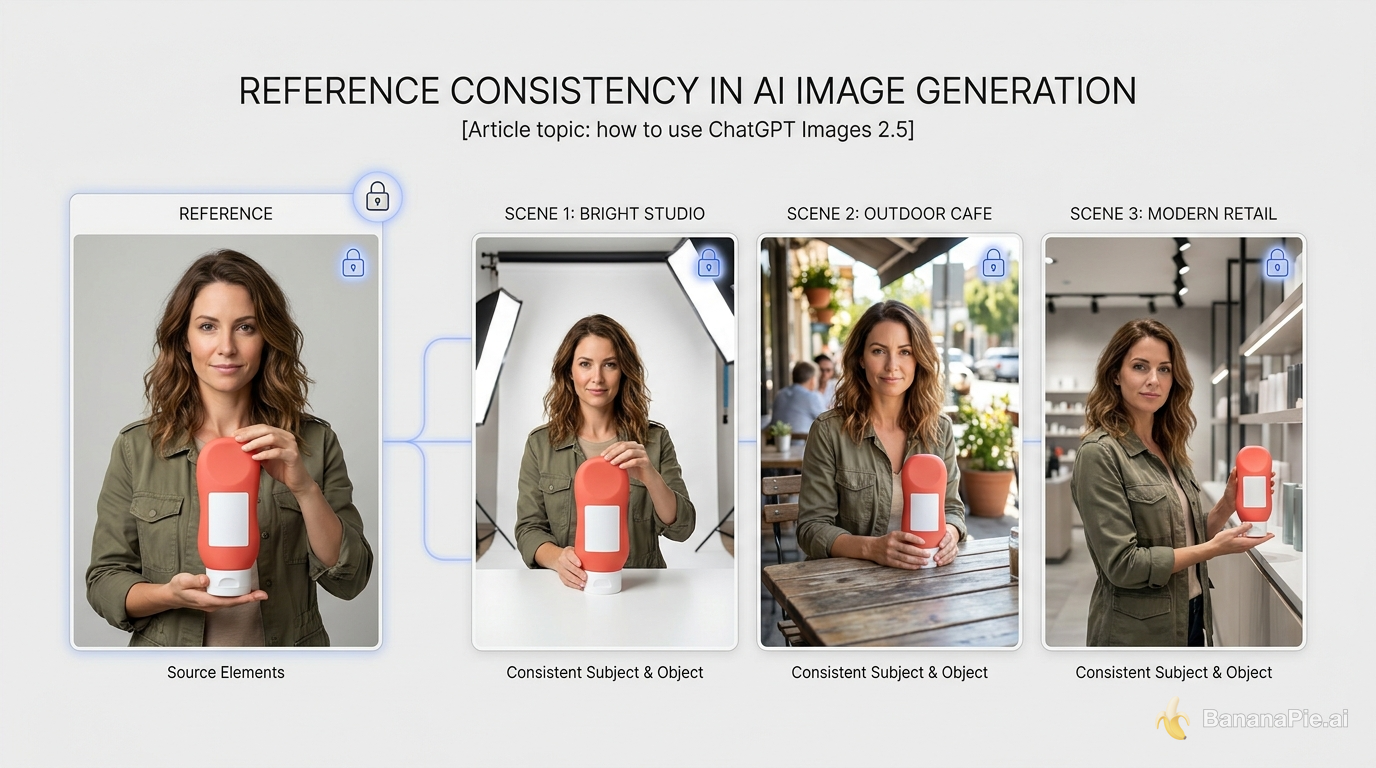
A reference image is more dependable than text alone when the exact appearance of a person, package, garment, or branded object matters. Upload the clearest reference available, then describe what must remain fixed.
For a person, lock facial structure, hairstyle, skin tone, clothing, accessories, and body proportions. For a product, lock its dimensions, materials, label layout, logo, colors, closures, and distinctive surface details.
Use language such as:
Use the uploaded image as the identity and product reference.
Preserve the face, hairstyle, clothing, product geometry, logo,
label placement, colors, materials, and proportions exactly.
Change only the environment and lighting described below.
After every generation, inspect faces, hands, typography, logos, reflections, and product proportions. Reference fidelity can still drift, particularly after several edits or a major change in camera angle. Knowing how to keep the same character in ChatGPT images therefore depends as much on review discipline as it does on prompt wording.
When is a sketch better than a longer prompt?
Use a sketch when the problem is primarily visual: placement, scale, framing, camera angle, or negative space. A rough drawing can communicate that the product belongs in the lower-right corner, the headline needs open space above it, and a secondary object should sit in the background more efficiently than a long paragraph.
This is especially helpful for room layouts, product advertisements, posters, flat lays, and social media compositions. After drawing the arrangement, pair it with a structured text prompt that defines the finish:
Follow the uploaded sketch for object placement, scale, and framing.
Subject: Red ceramic vase with a single sunflower.
Environment: Bright editorial dining room.
Lighting: Soft morning sunlight through a window on the left.
Camera: Eye-level 35 mm composition.
Output: Landscape 16:9 image.
Keep the empty area on the right clear for campaign text.
When learning how to turn a sketch into an AI image with ChatGPT, remember that the sketch controls composition while the written prompt controls appearance. Explicitly state whether the drawing is only a layout guide or whether its shapes and proportions must be followed closely.
How do you edit one area without changing everything else?
When localized selection or annotation is available, mark only the intended area. Then describe the replacement precisely and lock everything outside the selection. The current availability of localized editing controls needs verification for the relevant interface and plan.
For example:
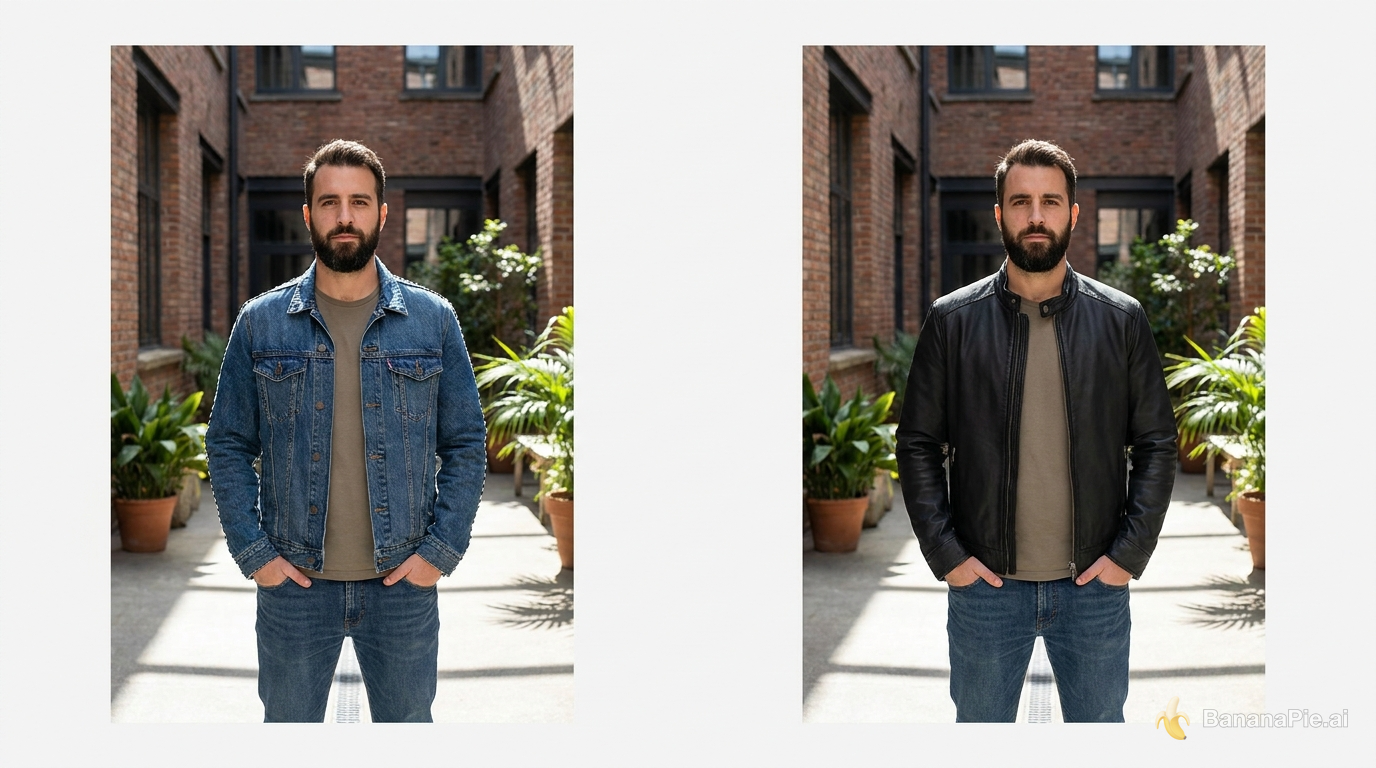
In the selected jacket area, change the fabric from blue denim
 to matte black leather.
Preserve the pose, face, hands, background, lighting, shadows,
and every pixel outside the selected area as closely as possible.
The same method applies when changing an eye color, replacing an object, adjusting a material, removing a sign, or editing poster copy. To replace text, provide the exact old and new wording, identify its location, and lock the font treatment, hierarchy, alignment, color, and spacing.
If the model alters unrelated content, return to the last approved image and narrow the selection. This is the central technique behind how to edit part of an image in ChatGPT without triggering a broad redesign.
How do you keep multi-step edits consistent?
Make each request apply to the latest approved output, not the original upload. One meaningful change per message makes errors easier to identify and reverse.
A controlled sequence might look like this:
- Replace the notebook with three rolls of 35 mm film.
- Change the computer display to a beach photograph.
- Add steam above the mug.
- Convert the room from daytime to night while preserving the objects.
Do not combine all four changes unless speed matters more than control. If an iteration loses an earlier edit, re-upload the last correct image and restate the locked details. This reset is often more efficient than asking the model to reconstruct several lost decisions from conversation history.
For consistent AI image variations, maintain a small approval checklist covering identity, geometry, text, layout, color, and lighting. Stop as soon as one category drifts.
How can multiple references become one coherent scene?
Assign every uploaded reference a role instead of asking the model to infer why it is present. Label them as the subject, clothing, accessory, product, vehicle, background, pose, or lighting reference.
Then organize the request into blocks:
PRIMARY SUBJECT
Use Reference 1 for the person and preserve facial identity.

WARDROBE AND PROPS
Use the coat from Reference 2 and the handbag from Reference 3.

ENVIRONMENT
Use Reference 4 for the street architecture.

COMPOSITION
Place the person in the foreground and the vehicle behind them.

LIGHTING
Use warm late-afternoon light from the right.

LOCKED ELEMENTS
Do not redesign the face, coat, handbag, vehicle, or architecture.
Complex composites require careful inspection. Look for omitted references, duplicate props, merged objects, impossible perspective, distorted limbs, and inconsistent light direction. If several elements are wrong, simplify the scene or add them in separate iterations.
How do you create transparent PNGs and reusable artwork?
When a transparent-background option is available, request an isolated subject with clean edges and no environmental shadows. Export the result as PNG because JPEG does not retain transparency.
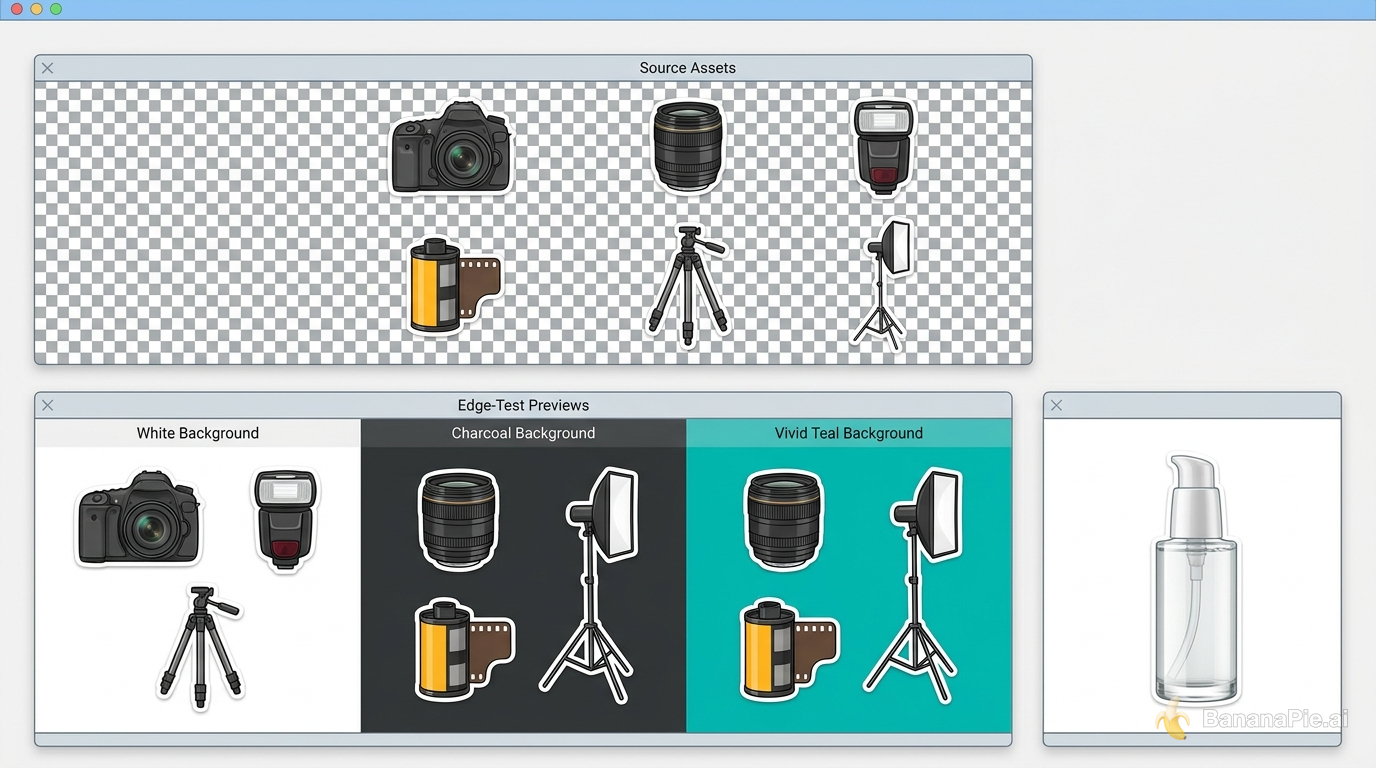
For a sticker sheet, specify the number of objects, spacing, border treatment, and whether each sticker needs to be individually separated. For a reusable logo-like illustration, ask for one centered artwork with no mockup, background, floor, or surrounding scene.
Test the exported PNG over white, black, and saturated backgrounds. This reveals white halos, dark fringes, partially transparent areas, and leftover scenery. If the generated transparency is unavailable or needs cleanup, you can remove an image background automatically and export a cleaner transparent PNG.
How can one image become a full campaign system?
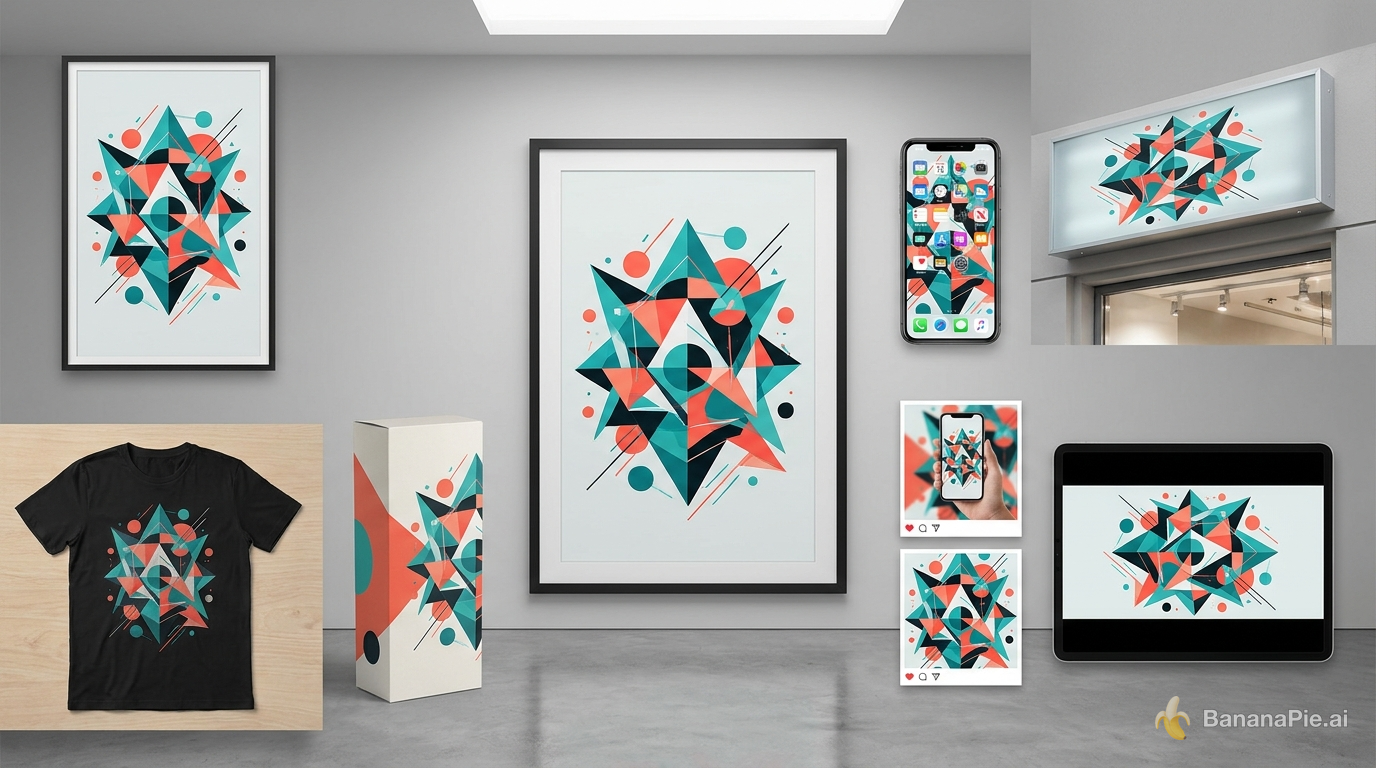
Start with one approved master design. Only after its artwork, subject, typography, and colors are correct should you produce posters, mockups, social crops, or marketplace images.
E-commerce hero image
Use the uploaded bottle as the exact product reference.
Place it upright on pale stone with soft morning light from the left.
Preserve the bottle shape, cap, label, logo, colors, and proportions.
Create a clean 4:5 e-commerce hero image with open space above.
Do not add new text or redesign the packaging.
Use this for marketplace listings and product-detail pages where packaging accuracy is critical.
Social media cover
Adapt the approved campaign artwork to a landscape social cover.
Keep the subject on the left and reserve clear space on the right.
Preserve the face, clothing, brand colors, logo, and visual style.
Do not crop the hands or place details behind interface overlays.
Use this to create a platform-specific composition from an approved campaign visual.
YouTube thumbnail
Create a high-contrast 16:9 thumbnail from the uploaded portrait.
Preserve the person's identity and natural skin texture.
Use an expressive close-up on the right with the product on the left.
Leave a clean area for a short headline.
Do not generate text, logos, borders, or extra objects.
Use this when you intend to add final typography manually for maximum accuracy.
Event poster
Create a vertical A5 poster for a night photography workshop.
Headline: "CITY LIGHTS"
Date: "18 OCTOBER"
Use a cinematic street photograph with restrained red accents.
Preserve clear hierarchy, generous margins, and an empty QR-code area.
Do not invent additional copy, sponsors, or dates.
Use exact copy and proofread the output before printing.
Branded product mockup
Apply the approved artwork to the front of a black cotton T-shirt.
Keep the artwork identical in shape, color, scale, and internal details.
Show a waist-up model in soft natural light against a neutral studio wall.
Render realistic fabric folds without warping the design.
This is a practical pattern for how to create product mockups with ChatGPT Images 2.5. It can be adapted for packaging, mugs, screens, signs, and apparel.
Which prompts are useful for everyday production?
Product background replacement
Preserve the uploaded product exactly.
Replace only the background with a minimal modern kitchen.
Match the product shadow and reflections to soft window light.
Do not change the packaging, label, logo, or proportions.
Use it to turn a packshot into a lifestyle image.
Consistent character variation
Create a three-quarter view of the same person.
Preserve facial identity, hairstyle, clothing, accessories, and age.
Keep the same lighting, background, lens style, and color treatment.
Use it for a coordinated character or campaign series.
Precise poster text replacement
Replace the headline "SPRING MARKET" with "AUTUMN MARKET."
Preserve the existing font style, size, alignment, spacing, and color.
Do not modify illustrations, dates, logos, layout, or background.
Use it for controlled copy updates, followed by manual proofreading.
Clean object removal
Remove the sign inside the selected area.
Reconstruct the wall texture and lighting behind it naturally.
Do not change any other object, text, shadow, or part of the image.
Use it to clean distractions from an otherwise approved photograph.
Transparent sticker artwork
Create six separate photography-themed stickers.
Give each sticker a consistent white outline and clean spacing.
Use a transparent background and export-ready isolated edges.
Do not add a scene, surface, frame, or drop shadow.
Use it for digital stickers, labels, or reusable content assets.
Multi-format campaign variation
Adapt the approved master visual to a vertical 9:16 format.
Preserve the subject, artwork, logo, typography, and brand colors.
Recompose only what is necessary to fit the new aspect ratio.
Keep all essential content inside safe margins.
Use it to produce consistent campaign assets one format at a time.
What mistakes cause inconsistent results?
- Changing too much at once: Multiple unrelated edits make it difficult to identify where drift began.
- Failing to name locked elements: The model may interpret omitted details as open to redesign.
- Using weak references: Blurry, obstructed, or contradictory images reduce identity and product fidelity.
- Treating generated text as final: Poster copy, labels, and small typography always require proofreading.
- Skipping full-size inspection: Distorted hands, edges, reflections, and logos can be missed in a preview.
- Continuing after a bad iteration: Further edits can compound errors. Return to the last approved image instead.
- Assuming transparency is clean: Always test PNG edges over several contrasting colors.
What practices make image generation more controllable?
- Structure prompts into subject, composition, environment, lighting, camera, text, format, and locked elements.
- Use exact wording for every visible headline, label, date, or callout.
- State negative constraints plainly: “Do not change the face, logo, layout, or background.”
- Make one significant change per iteration.
- Keep the last approved output available as a recovery reference.
- Create aspect-ratio variants separately instead of requesting every format at once.
- Compare product details and brand elements against the original after every generation.
- Review generated assets manually before publishing, printing, or delivering them to a client.
For more production techniques, read more AI image workflow tutorials covering prompting, editing, and creative asset preparation.
Frequently asked questions
How do I use ChatGPT Images 2.5?
Open the image creation interface, upload a reference or select an available guided creation option, and describe the subject, composition, lighting, output format, and elements that must remain unchanged. Interface labels and feature availability need verification before publication.
How do I keep the same person in ChatGPT image edits?
Upload a clear reference photo and identify the characteristics that must stay consistent, including the face, hairstyle, clothing, proportions, and accessories. Make one controlled change per iteration and inspect the result before continuing.
How do I edit only one part of an image in ChatGPT?
Select or annotate the relevant area, state the exact adjustment, and add: “Do not change anything outside the selected area.” Localized editing availability needs verification for the reader's interface and plan.
Can ChatGPT Images 2.5 create transparent PNG images?
Use a transparent-background option when available and request a clean, isolated subject with defined edges. Export as PNG, then test the asset over light, dark, and colored backgrounds.
How do I stop ChatGPT from undoing previous image edits?
Establish session rules stating that each request applies to the latest approved version and that previous edits must be preserved. Request one change per message and restate critical locked elements when needed.
How can I create product mockups with ChatGPT Images 2.5?
Provide the original product image, specify which details must remain exact, and describe only the new environment, placement, camera angle, or lighting. Check logos, packaging text, proportions, and materials before publishing.
Can ChatGPT Images 2.5 replace text in a poster?
Specify the old text, exact replacement copy, and location. Instruct the model to preserve typography, hierarchy, colors, spacing, and unrelated elements. Proofread the result because generated visual text can still contain errors.
How do I turn a sketch into an image with ChatGPT?
Use a rough sketch to define subject position, framing, object scale, camera angle, and negative space. Pair it with a structured prompt covering style, lighting, camera, and output format.
How do I create consistent social media image variations in ChatGPT?
Approve a master visual first, then request each aspect ratio separately. Tell the model to preserve the subject, artwork, brand colors, typography, and all other fixed elements across every version.
Build from one approved image
The most reliable way to use ChatGPT Images 2.5 is to work incrementally: provide strong references, approve a master composition, lock non-negotiable details, and make one controlled change at a time. Sketches help with spatial planning, localized selections limit unwanted redesigns, and structured prompts make complex production requirements easier to follow.
No generated result should bypass human review. Check identity, text, product geometry, logos, edges, lighting, and output dimensions before adding an image to a live campaign.
If you want to try this workflow hands-on, open our AI image generator and editor and start with one well-defined master visual.