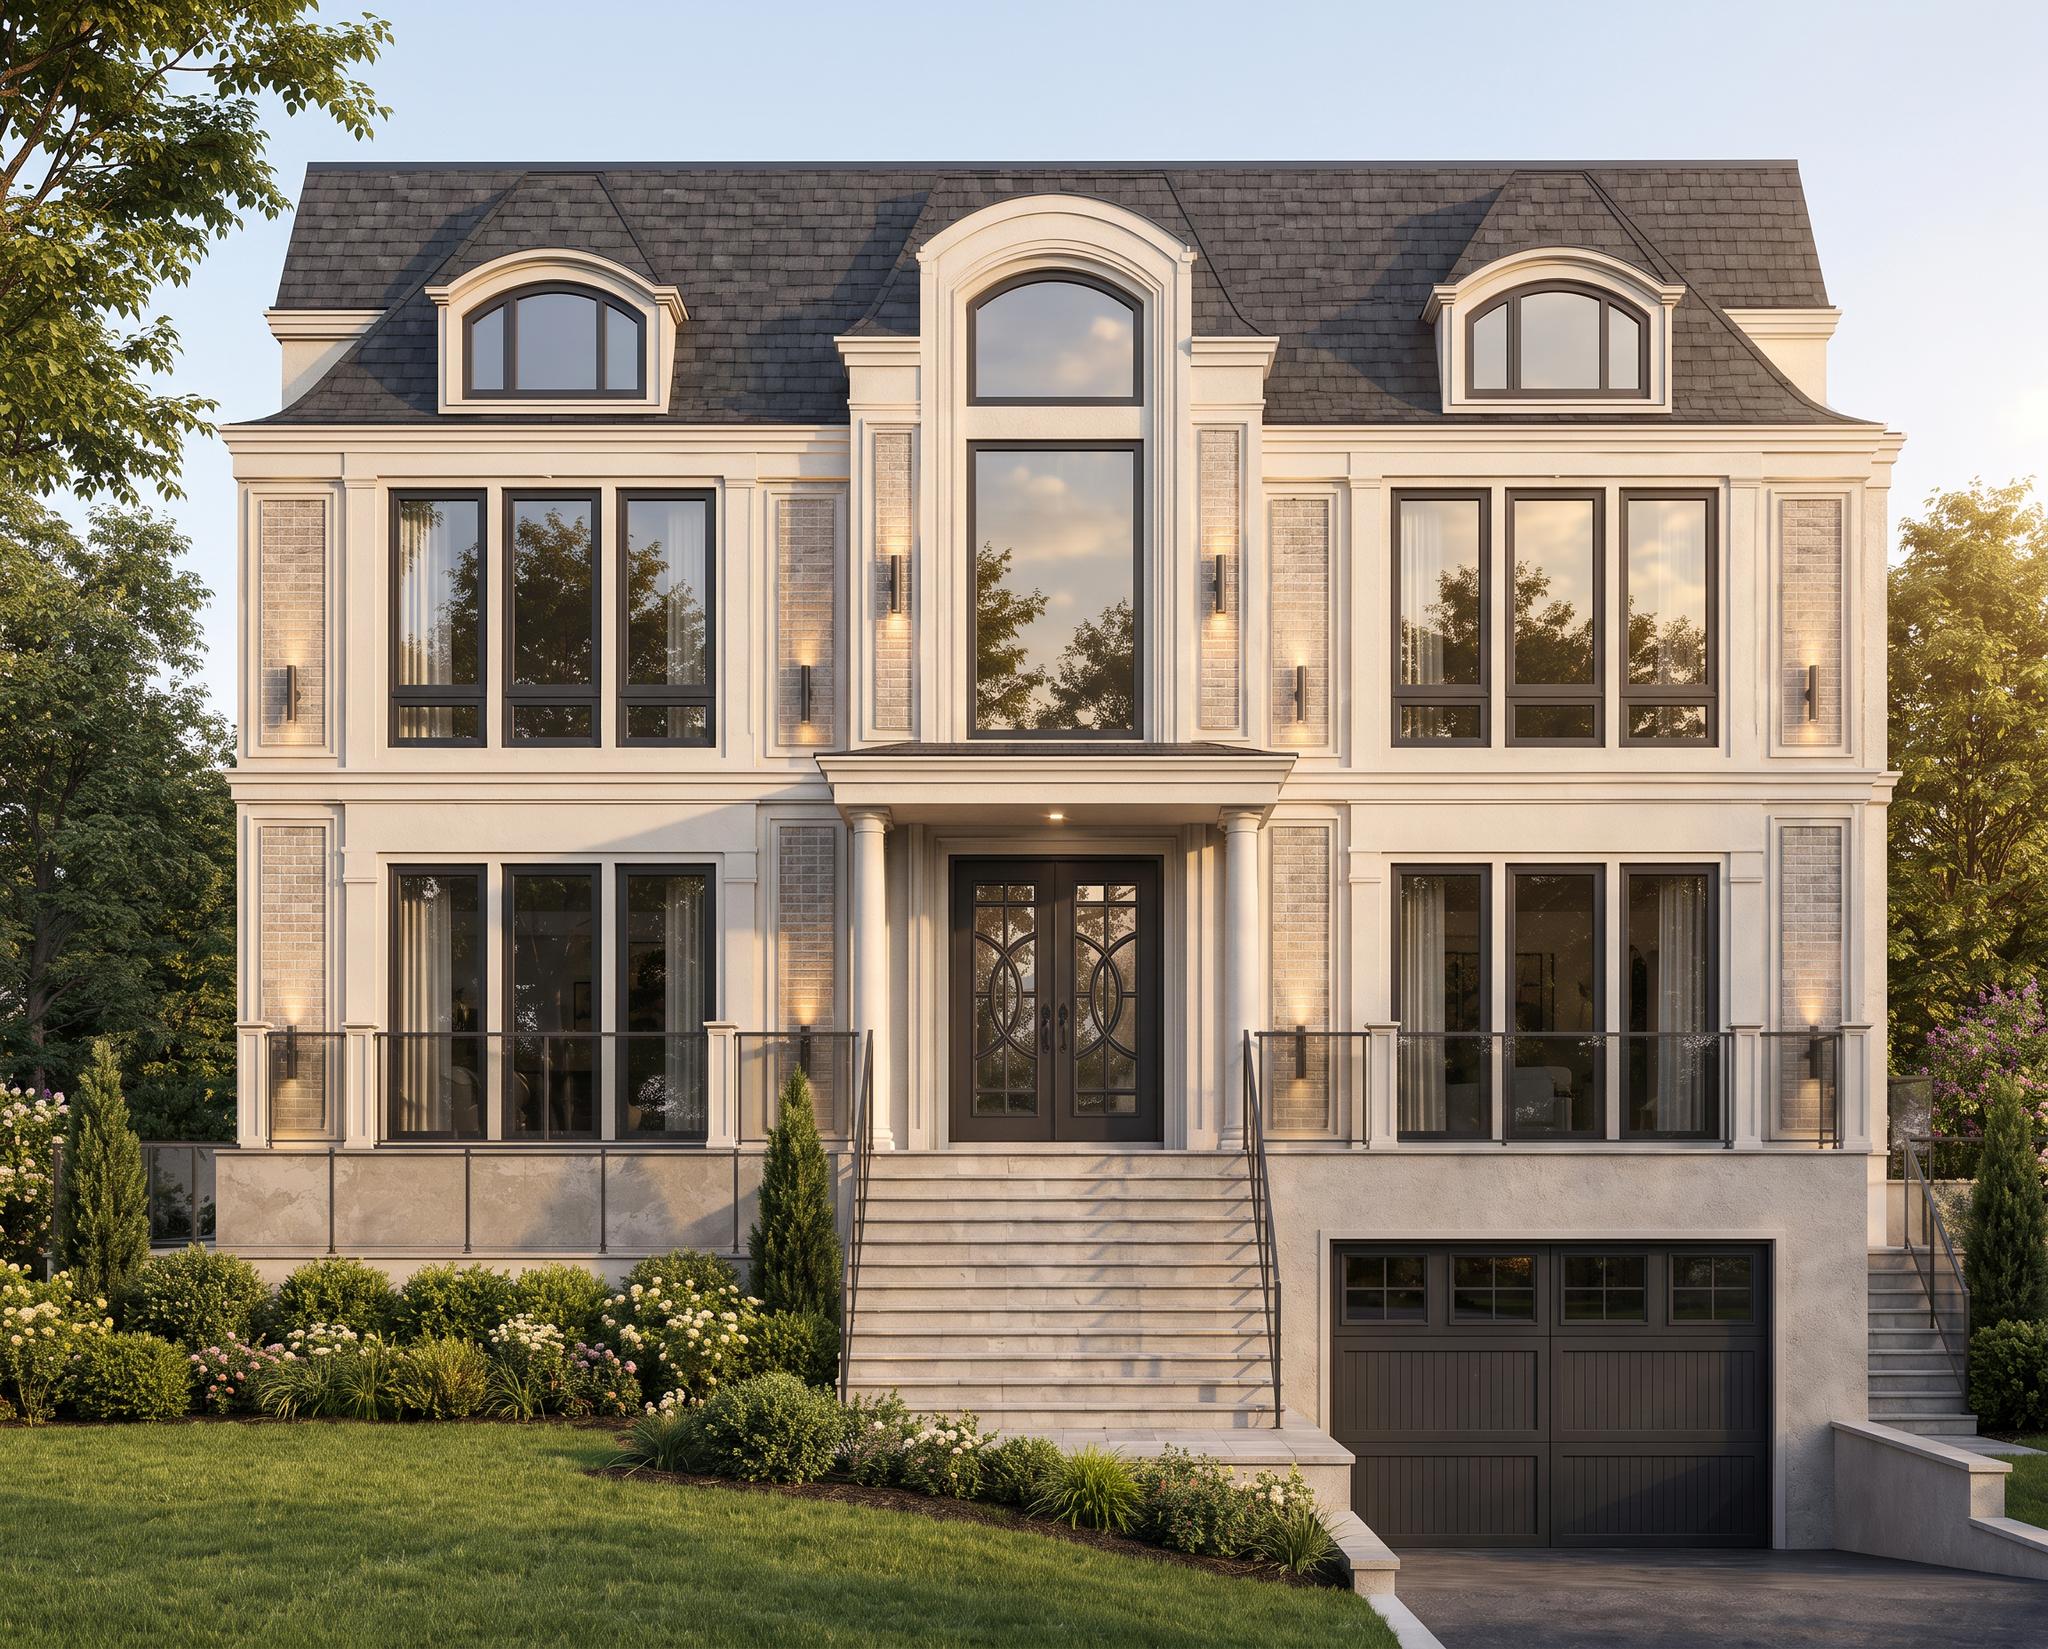
Transform the architectural front-elevation drawing in Image 1 into a super-photorealistic exterior photograph of the completed house. REFERENCE ROLES: Image 1 is the mandatory architectural and geometry reference. Follow its exact front elevation, overall width and height, roof shape, rooflines, number of stories, window and door locations, window sizes, architectural proportions, symmetry, spacing, and entrance position. Image 2 is the visual style reference only. Apply its architectural style, exterior finishing materials, stone or stucco treatment, trim details, color palette, window-frame colors, roof colors, landscaping character, lighting, atmosphere, and high-end residential appearance. Do not copy the structure or massing of Image 2. CRITICAL FACADE GEOMETRY: Construct the entire main front facade as one continuous flat vertical wall plane. The left section, center section, and right section of the facade must all be aligned on exactly the same front-to-back plane. All windows on the left, center, and right must be installed within this same continuous wall plane. The facade must read as one straight, uninterrupted exterior wall with no forward-projecting wings, window bays, volumes, wall sections, or recessed facade sections. The only element extending forward from the main facade plane is the entrance canopy located directly above the front door. Create the projecting entrance canopy shown in Image 1, supported by its columns. Keep every other part of the house behind the canopy aligned with the single main facade plane. ARCHITECTURAL PRIORITY: Preserve the architecture and geometry of Image 1 exactly. Transfer only the materials, colors, detailing, lighting, and visual atmosphere from Image 2. Do not redesign the house and do not replace the facade composition with the architecture from Image 2. CAMERA AND COMPOSITION: Create a perfectly centered, straight-on frontal exterior view at eye level. Use a corrected architectural photography perspective with straight vertical lines, minimal lens distortion, and the entire front facade clearly visible. Maintain the proportions and aspect ratio of the elevation drawing. RENDERING QUALITY: Produce a luxury architectural visualization that looks like a real professional exterior photograph. Use physically realistic materials, highly detailed textures, realistic glazing and subtle reflections, natural shadows, accurate depth, refined landscaping, and realistic daylight matching the mood of Image 2. The final result must look like the house from Image 1 has been fully constructed using the design language and finishing materials of Image 2.

@Maria Olonicheva Interior Design
Prompt
Transform the architectural front-elevation drawing in Image 1 into a super-photorealistic exterior photograph of the completed house. REFERENCE ROLES: Image 1 is the mandatory architectural and geometry reference. Follow its exact front elevation, overall width and height, roof shape, rooflines, number of stories, window and door locations, window sizes, architectural proportions, symmetry, spacing, and entrance position. Image 2 is the visual style reference only. Apply its architectural style, exterior finishing materials, stone or stucco treatment, trim details, color palette, window-frame colors, roof colors, landscaping character, lighting, atmosphere, and high-end residential appearance. Do not copy the structure or massing of Image 2. CRITICAL FACADE GEOMETRY: Construct the entire main front facade as one continuous flat vertical wall plane. The left section, center section, and right section of the facade must all be aligned on exactly the same front-to-back plane. All windows on the left, center, and right must be installed within this same continuous wall plane. The facade must read as one straight, uninterrupted exterior wall with no forward-projecting wings, window bays, volumes, wall sections, or recessed facade sections. The only element extending forward from the main facade plane is the entrance canopy located directly above the front door. Create the projecting entrance canopy shown in Image 1, supported by its columns. Keep every other part of the house behind the canopy aligned with the single main facade plane. ARCHITECTURAL PRIORITY: Preserve the architecture and geometry of Image 1 exactly. Transfer only the materials, colors, detailing, lighting, and visual atmosphere from Image 2. Do not redesign the house and do not replace the facade composition with the architecture from Image 2. CAMERA AND COMPOSITION: Create a perfectly centered, straight-on frontal exterior view at eye level. Use a corrected architectural photography perspective with straight vertical lines, minimal lens distortion, and the entire front facade clearly visible. Maintain the proportions and aspect ratio of the elevation drawing. RENDERING QUALITY: Produce a luxury architectural visualization that looks like a real professional exterior photograph. Use physically realistic materials, highly detailed textures, realistic glazing and subtle reflections, natural shadows, accurate depth, refined landscaping, and realistic daylight matching the mood of Image 2. The final result must look like the house from Image 1 has been fully constructed using the design language and finishing materials of Image 2.
Model
NANO-BANANA-PRO
Type
Image
Likes
0
Aspect Ratio
5/4